Farcaster Frames
In this guide, we will create a Farcaster Frame that lets users mint an ETH NFT using USDC.
Here's the NFT contract we'll use: 0x70cd0c150bf...e55ba383003. The contract has a mintFor function that allows users to mint by sending ETH to the contract.
We'll use the Glide to let users pay for the mint using USDC on Base.
Setup
We'll use the Frog.fm framework to build the Farcaster Frame. But, you can use any framework you like. Glide works with the underlying Frames spec.
Steps
1. Create a frog app
If you haven't already, create a Frog app. You can learn more about Frog here.
npm init frog2. Install Glide & viem
npm install @paywithglide/glide-js viem3. Create a Glide config
import { createGlideConfig } from "@paywithglide/glide-js";
import { base } from "@paywithglide/glide-js/chains";

export const config = createGlideConfig({
  projectId: "your project id",

  // Lists the chains where payments will be accepted
  chains: [base],
});4. Create the entrypoint frame

Create the entrypoint frame that shows the NFT and a button to begin the flow.
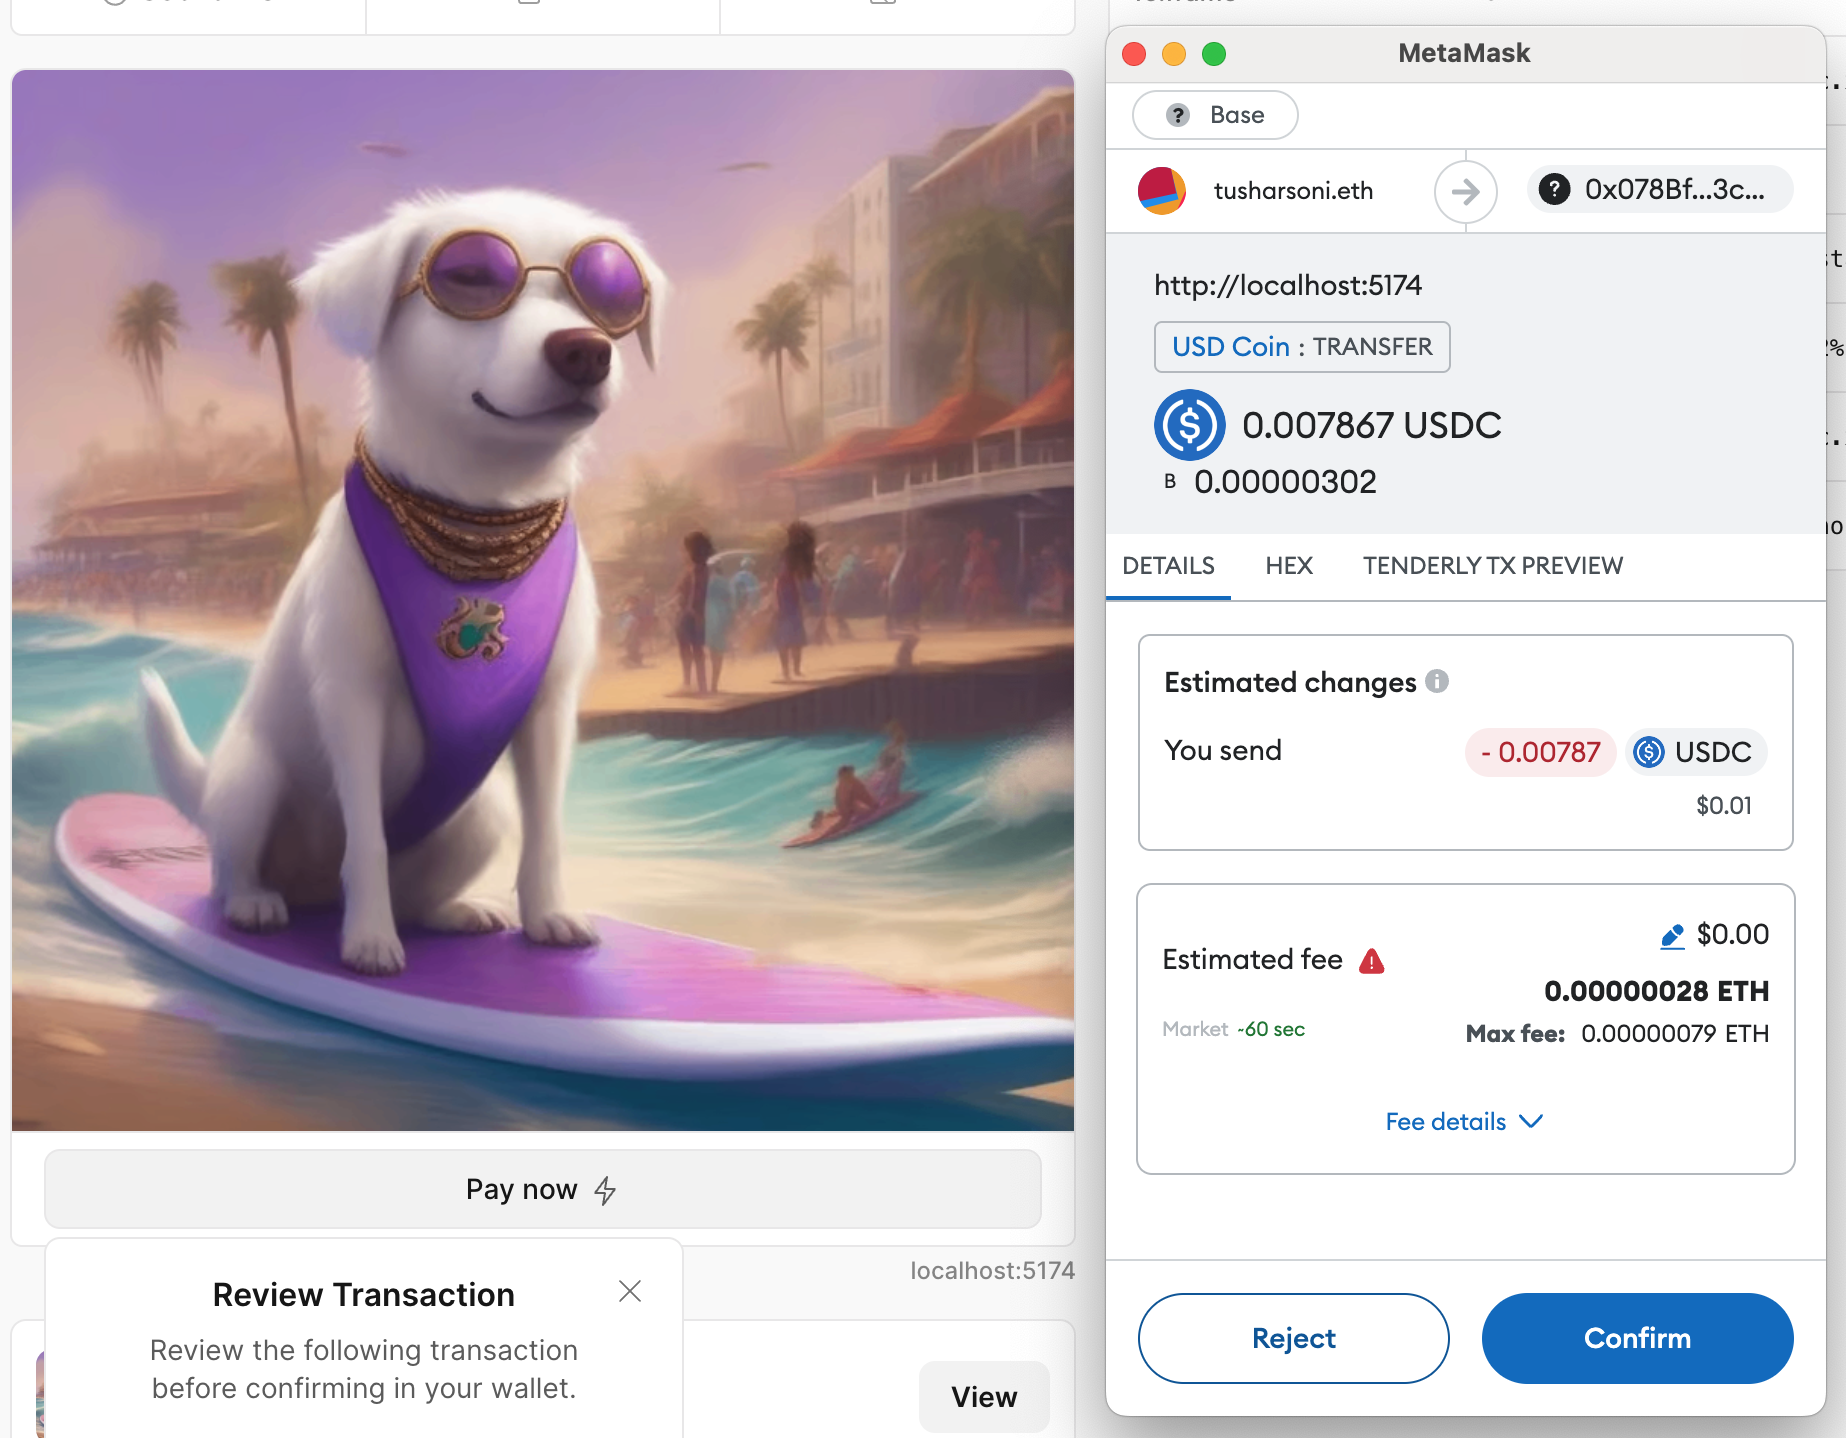
The Mint button has an action set to /mint, which we'll use to create the Glide session for minting the NFT.
app.frame("/", (c) => {
  return c.res({
    image:
      "https://storage.withfabric.xyz/loom/3daa8a0e-e808-4fa6-aa6a-7f6780c116ed.png",
    imageAspectRatio: "1:1",

    intents: [<Button action="/mint">Mint with USDC (Base)</Button>],
  });
});
5. Add Glide session to state
We need to track the Glide session across frames, so we'll add the Glide session id to the state.
type State = {
  glideSessionId?: string;
};

export const app = new Frog<{ State: State }>({
  title: "Glide Demo",
  initialState: {},
});
6. Add the Neynar middleware
We need a list of connected wallet addresses owned by the user. The NFT will be delivered to one of these addresses.
export const app = new Frog<{ State: State }>({
  title: "Glide Demo",
  initialState: {},
}).use(
  neynar({
    apiKey: "NEYNAR_FROG_FM",
    features: ["interactor", "cast"],
  }),
);
5. Handle the /mint route

When the user clicks the Mint button, we'll create a Glide session for minting the NFT.
This frame acts as our "confirmation" screen. We can show the final payment amount and the user's connected wallet address.
app.frame("/mint", async (c) => {
  // Get the connected addresses from the user (uses the Neynar middleware).
  // The NFT will be delivered to the first verified address.
  const ethAddresses = c.var.interactor?.verifiedAddresses.ethAddresses;

  if (!ethAddresses?.length) {
    throw new Error("No verified Ethereum addresses found.");
  }

  await c.deriveState(async (state) => {
    // Create a Glide session for minting the NFT
    const { sessionId } = await createSession(glideConfig, {
      paymentCurrency: currencies.usdc.on(chains.base),

      chainId: chains.base.id,
      abi: fabricAbi,
      address: "0x70cd0c150bf6c952b93ce6481b571e55ba383003",
      functionName: "mintFor",
      args: [ethAddresses[0], 3000000000000n],
      value: 3000000000000n,
    });

    // Store the Glide session ID in the state
    state.glideSessionId = sessionId;
  });

  return c.res({
    image:
      "https://storage.withfabric.xyz/loom/3daa8a0e-e808-4fa6-aa6a-7f6780c116ed.png",
    imageAspectRatio: "1:1",

    intents: [
      // A transaction button that will prompt the user to pay in their wallet
      <Button.Transaction target={`/pay`}>Pay now</Button.Transaction>
    ],

    action: "/tx-status",
  });
});
7. Handle the /pay route

When the user clicks "Pay now", we need to return the payment transaction hash to the user.
We do this by fetching the session from Glide and returning the payment transaction from it.
app.transaction("/pay", async (c) => {
  const glideSessionId = c.previousState.glideSessionId;

  if (!glideSessionId) {
    throw new Error("No Glide session ID found.");
  }

  const { unsignedTransaction } = await getSessionById(
    glideConfig,
    glideSessionId,
  );

  if (!unsignedTransaction) {
    throw new Error("No Glide transaction found.");
  }

  return c.send({
    chainId: `eip155:${chains.base.id}`,
    to: unsignedTransaction.to,
    data: unsignedTransaction.input,
    value: hexToBigInt(unsignedTransaction.value),
  });
});
8. Handle the /tx-status route


Finally, when the user has completed the payment, the /tx-status route will show the status of the transaction.
We also need to take the payment transaction hash from the user and use it to update the Glide session status.
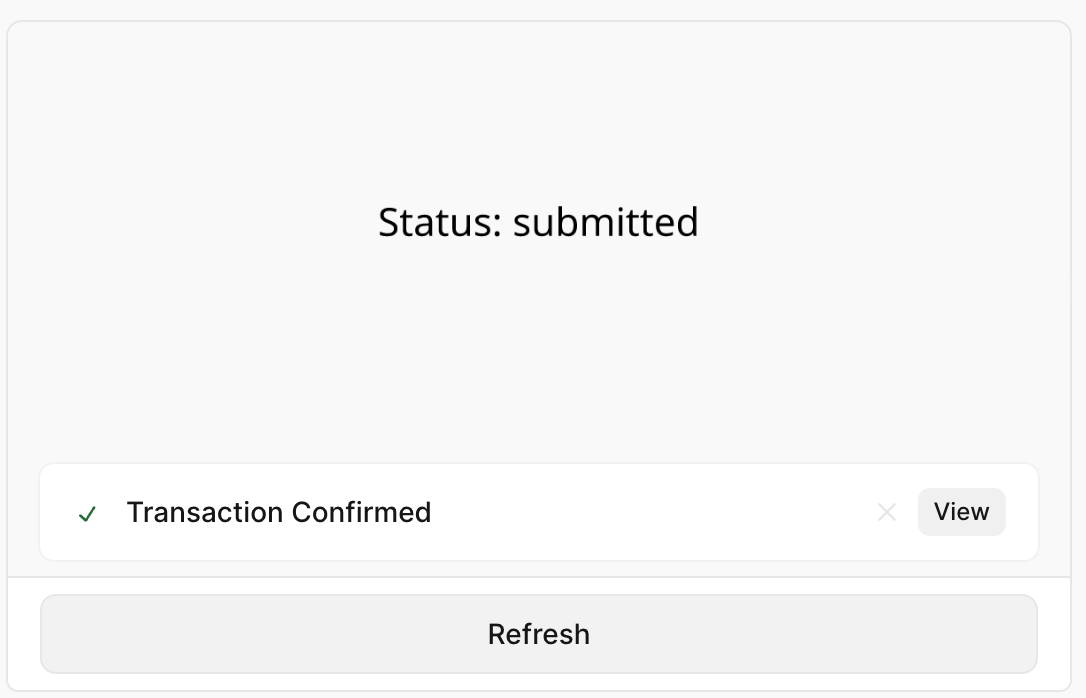
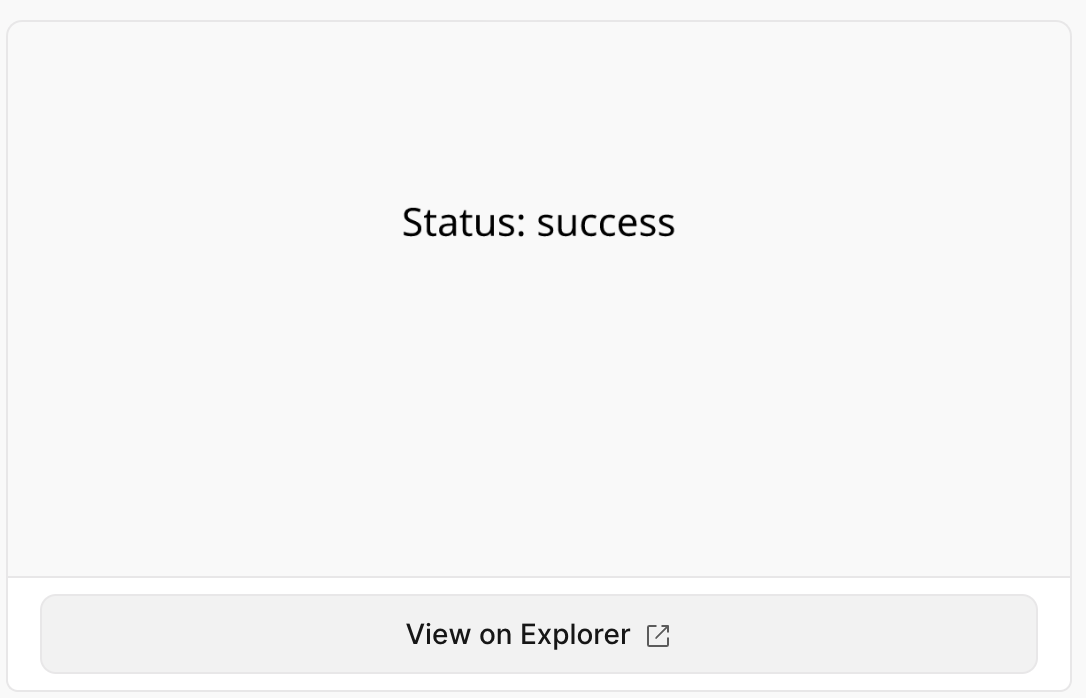
If the minting is complete, we provide the user with a link to view the transaction. Otherwise, they can refresh the page to check the status.
app.frame("/tx-status", async (c) => {
  const {
    transactionId,
    buttonValue,
    previousState: { glideSessionId },
  } = c;

  // The payment transaction hash is passed with transactionId if the user just completed the payment.
  // If the user hit the "Refresh" button, the transaction hash is passed with buttonValue.
  const transactionHash = buttonValue || transactionId;

  if (!transactionHash || transactionHash === '0x' || !glideSessionId) {
    throw new Error("Missing payment transaction hash or Glide session ID");
  }

  // Update the Glide session with the payment transaction hash, if the user just completed the payment.
  if (transactionId && transactionId !== '0x') {
    await updatePaymentTransaction(glideConfig, {
      sessionId: glideSessionId,
      hash: transactionId,
    });
  }

  const { sponsoredTransactionHash, sponsoredTransactionStatus } =
    await getSessionById(glideConfig, glideSessionId);

  return c.res({
    image: (
      <div
        style={{
          display: "flex",
          justifyContent: "center",
          fontSize: 44,
          marginTop: "200px",
        }}
      >
        Status: {sponsoredTransactionStatus}
      </div>
    ),

    intents: [
      sponsoredTransactionHash ? (
        <Button.Link
          href={`https://basescan.org/tx/${sponsoredTransactionHash}`}
        >
          View on Explorer
        </Button.Link>
      ) : (
        <Button value={transactionHash} action="/tx-status">
          Refresh
        </Button>
      ),
    ],
  });
});